What is a casing? 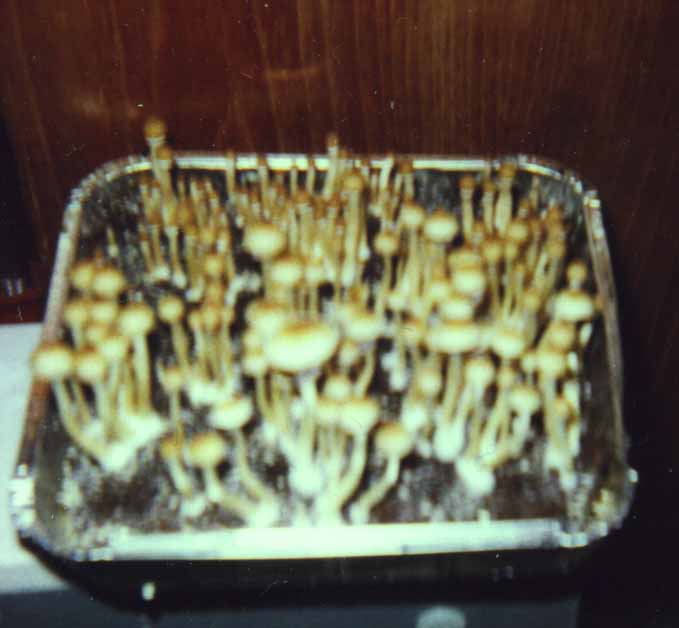
Hawaiian mushrooms
cased with a 50/50 mix
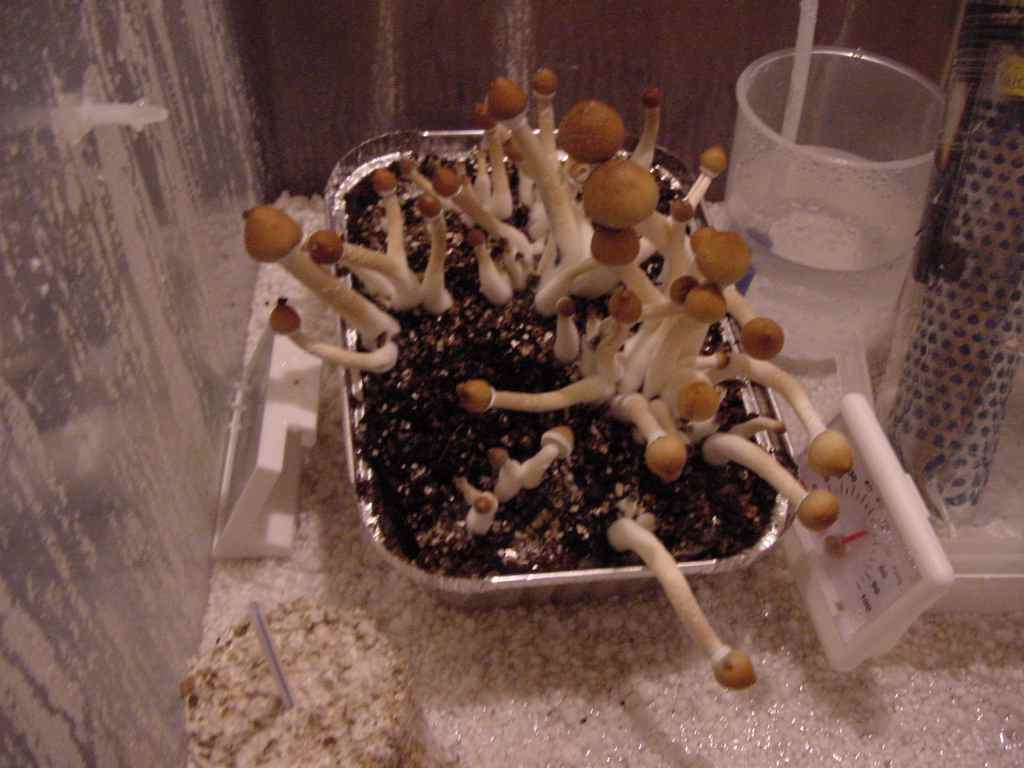
B+ mushrooms
Cased with a 50/50 mix
*Casings need a seperate growing chamber and not in with cakes as shown here
A casing is a crumbled up PF style cake or colonised grain covered with a layer of Vermiculite, vermiculite/peat Moss (50/50) or other materials.
A fully colonised PF cake is placed into a clean 'zip-lock' bag. Seal the bag and use your hands on the outside of the bag to break up the colonised cake into marble sized pieces (don't worry it wont destroy your cake).
Place the bag of crumbled cake back into the incubator for 24hrs for the mycelium to recover a bit.
You will need to find yourself a suitable container to put your casing in. I find the foil 'take-away' type foil tins to be very good for this purpose, they are relatively cheap and disposable. The type that come with cardboard lids are very handy.
The size of tin will depend on how many crumbled cakes you have. I have found a 7" x 7" tray about 1.5-2" deep will take about 3 1/2 pint cakes. Another consideration is that the larger the tray the more chance of loosing all your cakes to contamination. When I started out I used a small foil tray about 6" x 3" which was just right for 1 cake.
The total depth of your casing will be between 1 1/4" & 1 3/4".
The layers will be made up of the following components:
Firstly (optional) a dry layer of plain Vermiculite 1/4" deep. I have found this beneficial in combating contaminents which sometimes attack the substrate from underneath. This type of contamination will rip throughout your substrate before there are any visible signs of something amiss on the surface and the casing is unrecoverable. There is a lot of debate over whether this first layer is necessary it is up to you. Personally I find it very helpfull and also aids in rehydrating the cake between flushes.
Secondly. A 1" deep layer of the crumbled substrate mix.
Thirdly. A 1/4" casing layer
And finally a 1/4" or more gap between the casing layer and the top of the tray
The most basic casing with the best chance of results with no contamination are straight Vermiculite casings. These are pretty straight forward.
Take a good couple of handfuls of plain vermiculite and place in a bowl, add Mineral water so that it is soggy (it doesn't have to be exact but you dont want the verm swimming in water) I place cling-film over the top of the bowl with a couple of slits in and stick in the microwave for 5 mins on high power (again this is optional as Vermiculite is supposedly sterile anyway, but again in my experience it can save a lot of heart-ache).
Allow to cool.
I wipe out the foil trays with a cotton ball soaked in Isopropyl alcohol then sprinkle a 1/4" of dry plain vermiculite on the bottom. Take the zip-lock bag with the crumbled cake and with a sterile fork spread the substrate to a depth of roughly an inch.
The cooled, sterile, moist vermiculite should now be damp with a lot of the water evaporated during the steralising phase (don't worry if it is on the dry side). Whip this up with the sterile fork so that it is light and airy. Carefully fork out the vermiculite onto the substrate taking care to make sure that it stays light and airy, *do not press the vermiculite down, it is essential that it is light and airy*.
Try to keep the verm as even as possible over the substrate to a depth of 1/4" this will help ensure an even colonisation of the casing.
Now you have your casing finished, if it is dry give it a hand misting with mineral water in a spray bottle so that it is damp.
If your trays came with a cardboard lid, make a few slits in the lid with a knife. If they came without cardboard lids wrap the tray in cling-film and make a few slits in the cling-film.
It is important that the casing layer is not touching the lid which is why I said to leave at least a 1/4" gap between the casing layer and the top of the tray.
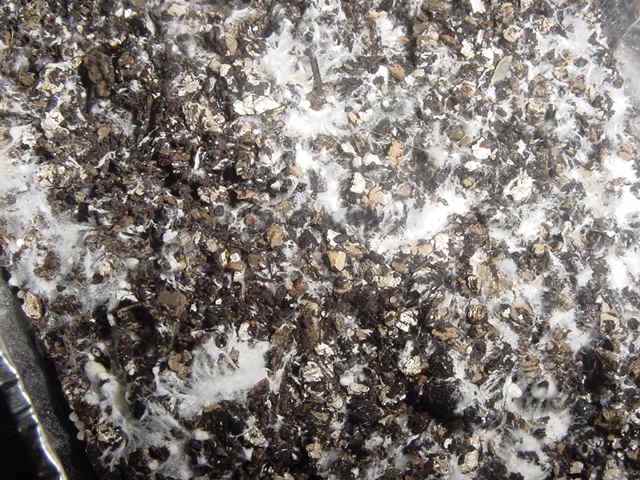
So...now you have your casing wrapped/lidded. Put it back in the incubator that the cakes colonised in keeping the containers in the dark. Give it a couple of days and check on the casings. Remove the lids or look through the cling-film, you are looking for signs of mycelium poking up through the casing layer (the length of time this takes varies with each strain, could be a couple of days, could be a week so don't panic if there are no signs yet). If there are obvious patches where the mycelium is strongly coming through just sprinkle a little damp verm over the top. What we are aiming for is an even spread of patchy mycelium poking through the casing, but not fully taking over the casing layer (this can lead to 'overlay', where the mycelium is solid with no casing visible. This is not what we are after it will cause all sorts of problems with pinning and is liable to contamination from 'standing water' where the water is not able to penetrate through the casing layer.). If the mycelium is lightly poking through evenly all over the casing layer it is ready to be 'birthed', if not put the lid back on and pop back into the incubator and check on it daily.
When the casings are ready they can be placed in the casing chamber. This is a different set-up to the PF cake style birthing chamber.
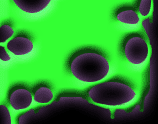
This is an example of 'overlay'.
On the right of the picture and other patches the mycelium is dense. This will lead to problems with pinning and with contamination due to 'standing water' not being able to penetrate into the casing layer.
If you do get areas of overlay they can be helped by 'deep scratching' with a sterile fork or scalple bade.
50/50 Another common casing material is Vermiculite/Peat Moss, otherwise known as 50/50 mix.
This tends to give better results than vermiculite alone but is more prone to contamination. 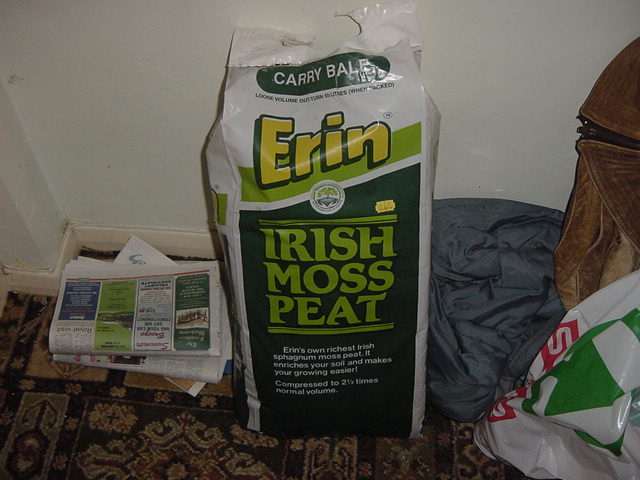
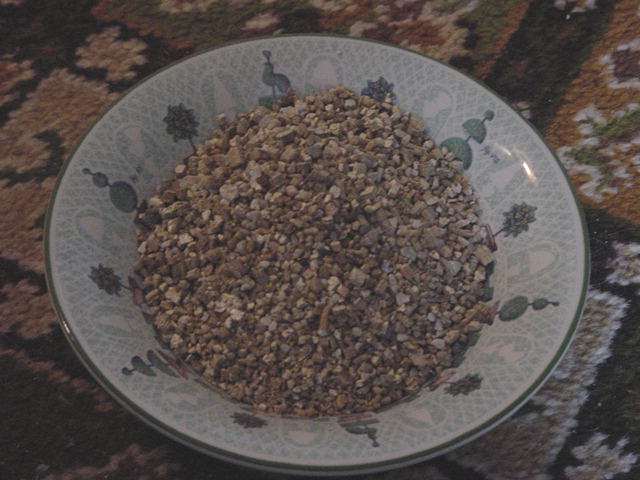
Peat Moss.
Can be found in any Garden Center
Plain Vermiculite.
Found in any Garden Center
Remove any sticks or lumps from the Peat Moss and add to an equal amount of vermiculite (I use slightly more vermiculite for better structure) add water until moist (Optional: I microwave mine for 5mins in the microwave, tends to reduce the chance of 'green mould' but others find it destroys any beneficial bacteria, its just a matter of preferance).
Again keeping the mix light and airy. I add calcium carbonate (chalk, can be found in 'Home-Brew' shops). 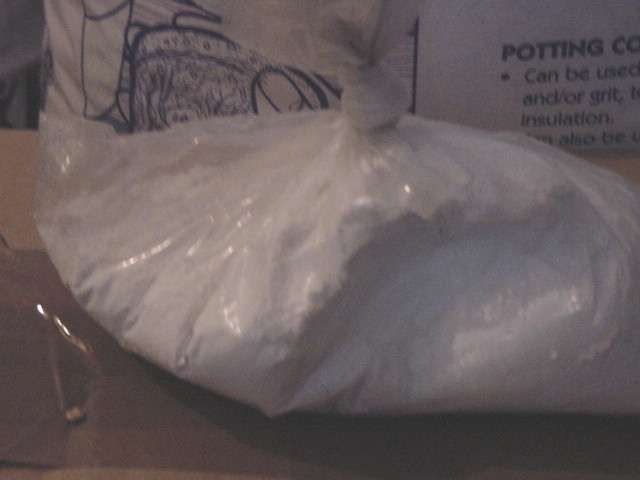
Calcium Carbonate (Chalk).
Found in Home-Brew stores or Garden Centers.
Adding calk (or Lime) alters the PH of the casing material which discourages growth of 'green mould'.
I would highly recommend the use of chalk or lime, it dramatically cuts down the chance of contamination.
For a 7" x 7" tray I use 1 heaped tablespoon of chalk to the casing mix. Gaps Around Casing If the casing is drying out to the extent that it is becoming crispy on top you can carefully mist around the shrooms but only give it a light mist. If it is also pulling away from the sides of the tray too much you have 2 options:
First you can plug the gaps with plain damp vermiculite.
Second, (this is why I recommend a 1/4" base layer of plain verm) either with a syringe or carefully with the spray bottle squirt 10-15ml of mineral water down the gap. This can be a bit dodgy if you don't have the base verm layer as it can lead to contamination problems. The casing should start to rehydrate and expand to fill the gap.
|