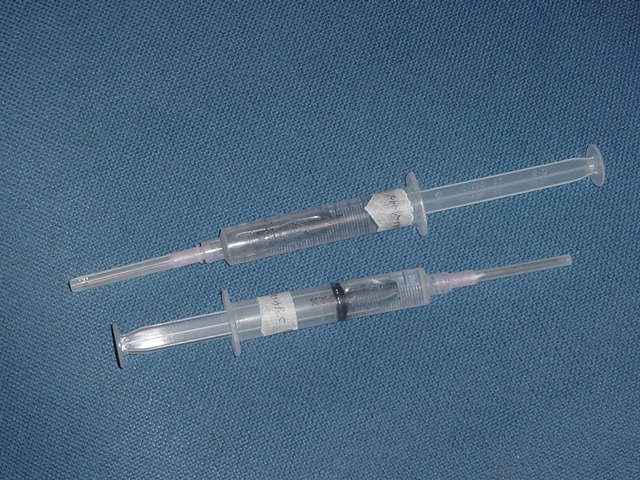
Your sterile innoculation syringes purchased from a reliable spore vendor. These are the most important items after your sterile substrate. The needle should be heated until cherry red with a butane tourch or an alcohol flame. Do not use a lighter as this will leave a sooty deposit on the needle. 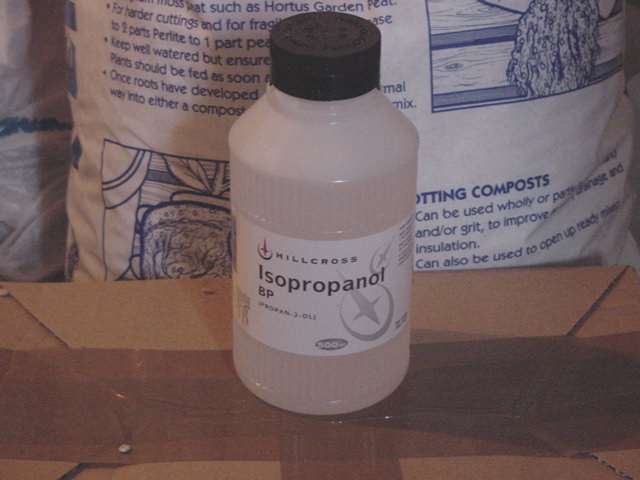
Cool the needle either by squirting a small amount of innoculant out of the needle or preferably with a cotton swab soaked in Isopropranalol. Remove the tape from around the lid/jar and tighten the lids.
Remove the tape from one of the holes and squirt 1/2-1cc through the verm barrier and down the side of the jar into the substrate. Remove the needle and cover the hole back up with the tape.
Repeat the process for each of the other 3 holes. 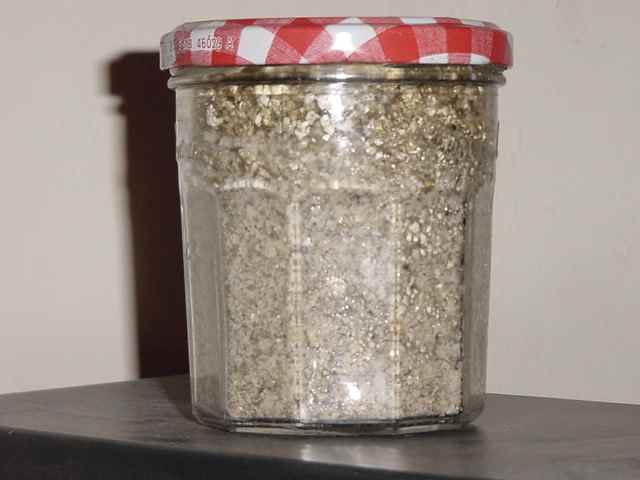
The innoculated jar is now ready to be placed in your incubation chamber, in the dark at 80-85F. You should see mycelium appearing in 2-10 days depending on the strain used.
I remove the tape from the holes, flip the jars and tap the cake down at around 50% colonisation. This speeds up the colonisation process by getting air to the bottom of the jar. You will see condensation on the sides of the jar while colonising, this is normal and nothing to worry about. Do check the jars occasionally and make sure there are no water droplets forming on the top of the jar which may drip down onto the substrate. If this is happening just turn the jars to one side so the water droplets run down the side and into the verm barrier. |